Key takeaways
- The setup wizard preselects Auto-publish and Publish live. If you want editorial control, switch to Review first and push to your CMS as a draft.
- The budget share (default 90%) decides how much of your AEO article allowance the agent may spend. The rest stays free for manual drafts.
- The Needs review tab is your inbox. Accept, decline (a reason is required) or open the draft in the editor. Your edits are what goes out.
- Recurring edits are a settings problem. Fix tone of voice, blocked words and the Knowledge Base instead of correcting every draft.
- The Content Agent is a Business plan feature. Lower plans see a demo calendar.
Why editorial control matters with an automated writer
An agent that plans, writes and publishes on a schedule is useful. It is also the fastest way to put a mediocre page on your domain at 2 pm on a Tuesday. The Content Agent in Promptwatch is built around three controls that decide how much of that risk you take: a budget, a publishing calendar and a review inbox.
The controls are good. The defaults are not tuned for cautious teams. I would read this guide as a checklist of what to change before you switch the agent on, because the setup wizard leans toward speed. The details below come from Promptwatch's own docs on Content Agent settings, the content schedule and reviewing drafts.
What you need before you start
The automated Content Agent and Agentic AI Search Optimization are on the Business plan ($579/month, 10 AEO articles, 5 projects). Professional ($245/month) includes 5 AEO articles for manual Content Creation and Content Refresh, but not the automated agent. Check promptwatch.com/pricing before you plan around these numbers. The Content Agent is also not available on white-label workspaces.
There is one wrinkle. The agent draws on the plan's AEO article allowance, so on Business that is the pool of 10 you are splitting between automation and manual work. The docs refer to the "billing period", so confirm how your allowance resets when you set things up.
Before the first run, the schedule page shows a readiness banner. Take it seriously. The two steps that matter most for control are connecting a CMS and adding Knowledge Base items, because drafts are only as good as the facts and tone the agent can draw from.
Step 1: set autonomy and publish state first
Open Content > Content Agent > Settings. Settings are grouped into automation, schedule and publishing cards. Two choices there decide almost everything else.
Autonomy mode
There are two modes.
- Review first sends every draft to the review inbox. Nothing publishes without an accept.
- Auto-publish lets drafts that pass quality checks skip the inbox and publish at their slot, labeled "Auto-approved".
The wizard preselects Auto-publish. If you are an editor or a content lead, change it to Review first. Be aware of what the quality gate currently does: according to the docs it only blocks empty drafts, which then stop in Needs review. It is not a fact-checker or a brand-voice judge.
Publish state
Approved content is either pushed to the CMS as a draft or published live. The wizard preselects Publish live. A CMS draft still needs a final publish inside WordPress, Webflow or Framer, even in Auto-publish mode.
The docs themselves suggest combining the two: Auto-publish plus CMS draft keeps the CMS as a last checkpoint. That is a reasonable middle path for teams that trust the agent on volume but want a final look before anything goes live.
| Setup | Who approves | Where the last check happens | Best for |
|---|---|---|---|
| Review first + Publish live | You, in Promptwatch | Review inbox | Teams with an editor who reads every draft |
| Review first + CMS draft | You, twice | Inbox, then CMS | Regulated or high-stakes content |
| Auto-publish + CMS draft | Nobody in Promptwatch | CMS | High volume, with a CMS-side editor |
| Auto-publish + Publish live | Nobody | Nowhere | Low-risk content you are willing to audit after the fact |
The last row is the wizard's default. Choose it on purpose or not at all.
CMS integration
The default is manual export: nothing is pushed, you copy the content out, publish it and record the URL. Webflow, Framer and WordPress are supported. Create the connection under Project settings > CMS Integrations, then select it in the agent settings. Once a CMS is connected, the live URL goes into the Page Tracker automatically, so you can see whether AI crawls and cites the page.
Step 2: set the budget share and project limits
This is the part that protects your wallet and your quality bar at the same time.
Budget share
The budget share defaults to 90%. It is the slice of the project's AEO article budget the agent may spend this billing period. The remainder is reserved for manual drafts in Content Creation and Content Refresh. With no project limit, the budget is the organization's whole allowance, shared across projects.
The meter has four segments: Used, Queued, Available and Manual drafts. Two behaviors are worth knowing:
- You cannot lower the share below what is already committed to queued work.
- When the agent's share runs out, generation pauses. You can raise the share or wait for the reset. The Content tab shows a notice with the reset date.
My suggestion is to drop the share to somewhere around 60 to 70% for the first month. On a 10-article allowance, that keeps three or four articles for pieces you want to commission yourself, like a launch post or a refresh of a page that matters. You can always raise it later. Lowering it after the agent has queued work is the part that gets blocked.
Project limits
Agencies and multi-site brands should look at this. An organization owner can give each project a fixed number of AEO articles per billing period. The docs' example is 30 for one site and 10 for another. Click Set project limit under the meter, or go to Organization settings > Projects > Edit limits.
Things to know:
- The limit covers every article the project generates, by hand and by the agent.
- The organization allowance still caps all projects together.
- You cannot set a limit below what the agent has already queued.
- When a project hits its limit, manual generation in that project pauses too.
- Limits are fixed numbers. They do not change when you change plan or add-ons. After an upgrade, the extra articles stay unassigned until you hand them out. After a downgrade, project limits can add up to more than your plan, but each project still stops at the organization allowance.
That last point catches people. If you upgrade and nothing seems to change, the extra capacity is sitting unassigned.
Step 3: build a publishing window you can live with
The schedule settings are about when content goes out, not just how much.
- Schedule timezone is an IANA timezone, defaulting to the organization timezone and independent of your browser.
- Publishing days and hours are a per-weekday grid. The default is every day, 09:00 to 18:00. Days switched off never publish. Saving needs at least one enabled day.
- The agent picks a specific time inside the window for each piece, and the reason appears in the piece's Activity run.
If your team reviews on weekdays, switch off weekends. A draft that lands Friday evening in Review first mode will have its slot on Saturday, and nobody will be around to catch a problem if you ever flip to Auto-publish later.
Some controls are not in the dashboard yet. Blackout dates (for example a launch week), publish timing, and max per day (default 1, up to 20) are available through the API and MCP only. If you need a blackout during a product launch, you will have to set it through the MCP server or API or simply pause the master switch. Turning the Content Agent off pauses planning and generation but keeps your configuration, and drafts already in review stay reviewable.
Step 4: read the content schedule properly
The schedule has a list view and a calendar view. The list is best for triage and the calendar for seeing cadence and gaps. The list sorts by scheduled date ascending, 25 rows per page. The calendar defaults to month view, with week available, and each piece shows as a dot colored by status.
Two dates per piece
Every piece has a generate-by date and a scheduled date. Generation starts as soon as a piece is planned, provided budget is left. The scheduled date comes later. That gap is your review window in Review first mode, so a draft is usually waiting for you before its slot arrives.
Status lifecycle
The normal path is Planned, Generating, Needs review, Scheduled, Publishing, Published. Approved only appears when publish timing is set to "Immediately on approval". In Auto-publish mode, a piece stops at Needs review if it failed a quality check or has required CMS fields the AI could not fill with confidence.
Published means live or pushed as a CMS draft, depending on your publish state. With no CMS connected, it is marked published for manual export.
Exception statuses
| Status | What happened | What to do |
|---|---|---|
| Delayed | Generation failed twice, or the piece was released for re-planning | Nothing. The failed attempt is refunded and the topic is re-planned |
| Publish failed | CMS error. Transient errors retry up to 5 times, config errors fail immediately | Use the suggested fix (Set author, Fix CMS connection), Publish now, Decline or Delete |
| Suppressed | You declined it | Reason is stored; the piece leaves the schedule |
One warning on Publish failed: check your CMS for a duplicate before retrying, because the last write may already have landed.
Re-planning happens when a piece's date falls outside the usage period, when a higher-priority idea displaces it because the budget is full, or when it loses its linked prompt.
Filters and bulk actions
The filter tabs are All, Drafting, Generating, Needs review, Scheduled and Published, each with a live count. The docs recommend checking Needs review daily. Delayed and Publish failed tabs only show while something is in that state, so a new tab appearing is itself a signal.
Bulk actions let you tick rows to Accept, Decline, Publish now or Delete. Accept only works if every selected piece is in Needs review. Use bulk accept sparingly. It is tempting on a busy Monday, and it is exactly how a weak draft slips through.
Step 5: work the review inbox
The inbox is Content > Content Agent with the Needs review tab. The count shows how many drafts are waiting, and you get an in-app notification when a new one arrives.
The three options
- Accept moves the draft to Scheduled. It publishes at its slot, or immediately if publish timing says so. With manual export it stays scheduled until you publish it yourself.
- Decline requires a reason, and the reason stays on the record.
- Open in editor opens the full document editor. There is no separate approved copy, so your edits are what goes out.
That last point is easy to overlook and quietly useful: you do not need a second tool to fix a headline or cut a weak paragraph. Edit in place, then accept.
Use the detail sheet
Clicking a piece opens Content details, which shows scheduled and generate-by times, priority, type, length, tone, persona and a "Why this was prioritized" explanation, plus a draft preview. That explanation is the most useful field in the inbox. If the agent cannot justify why a topic matters, decline it.
If you accept a piece whose scheduled date has passed, the sheet asks whether to reschedule to the next slot or publish now. Read that prompt instead of clicking through.
You can still back out after approving
Accepted pieces can be declined before they publish, or published now. Publish now overrides the schedule, so be careful with it on pieces timed around a campaign.
Turn declines into a feedback loop
Declines need a reason, so write real ones: "too generic intro", "wrong product claim", "duplicates our pricing page". After a couple of weeks, read them back. Patterns show what the planner keeps getting wrong. The docs suggest treating repeated fixes as a settings problem rather than an editing chore.
Step 6: fix recurring problems at the source
Writer defaults are project-wide, not agent-specific. They live in Brand > AI Settings and cover content language, tone of voice, default tools, image style, blocked words and default author. The agent applies them to every automated piece unless the planner set piece-specific options.
If you keep correcting the same thing, here is where to go:
| Recurring fix | Where to change it |
|---|---|
| Tone is too salesy | Tone of voice in Brand > AI Settings |
| Banned phrases keep appearing | Blocked words in Brand > AI Settings |
| Wrong or vague product facts | Add source documents to the Knowledge Base |
| Publish failed: no author | Default author in Brand > AI Settings |
| Wrong language | Content language in Brand > AI Settings |
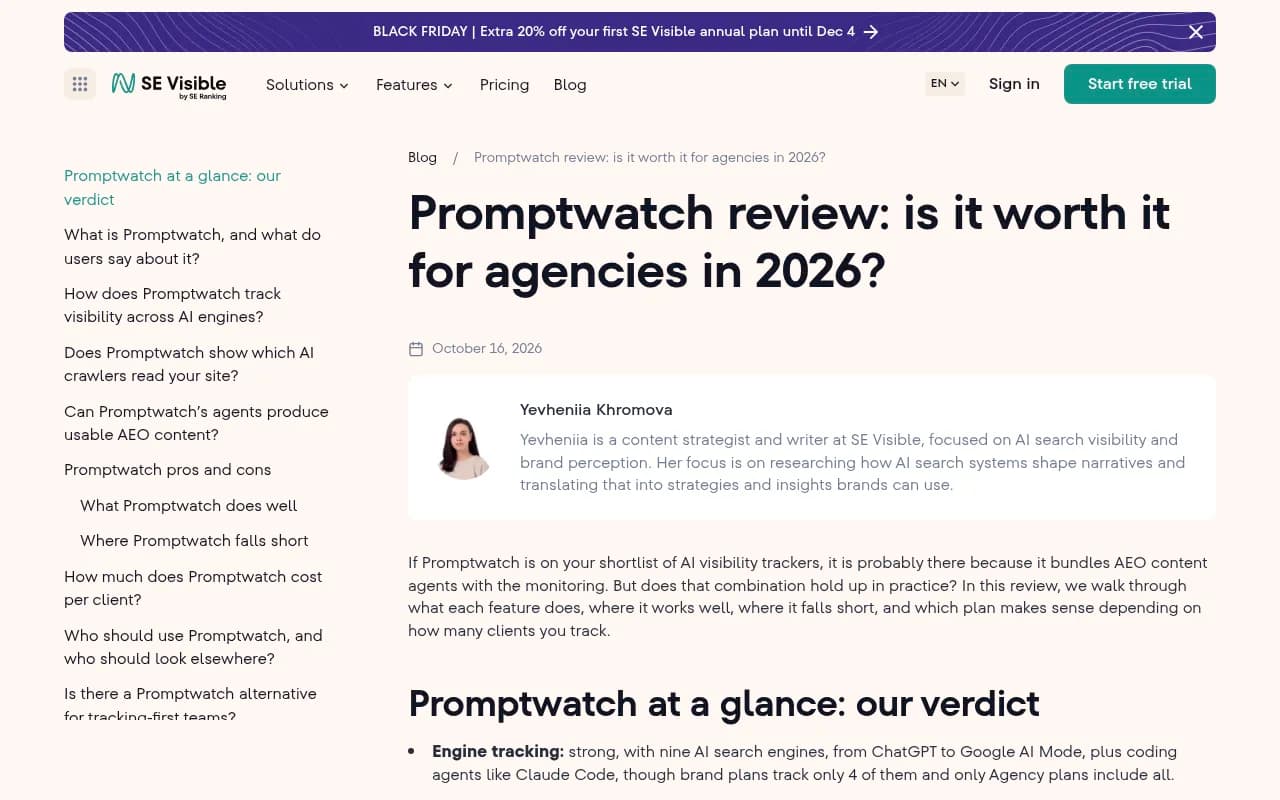
The Knowledge Base matters more than people expect. One independent review from SE Visible makes the same point: how publishable the drafts are depends on how well the knowledge base is set up and how much editing you are willing to do. Their suggestion is to have the agent draft one article on a real account and time the edit. I agree. That edit time is the honest measure of whether the quota is worth it.
A sensible rollout plan
Here is the order I would use on a new Business account.
- Connect your CMS and add Knowledge Base items before enabling anything. Set tone, blocked words and default author.
- Complete the wizard, then immediately open Settings and switch autonomy to Review first.
- Set publish state to CMS draft for the first month. You review twice, which feels slow, and that is the point.
- Lower the budget share to around 60 to 70%.
- Restrict publishing days to the days someone is at a desk.
- Check Needs review daily for two weeks. Log decline reasons.
- Update Brand settings and the Knowledge Base based on those reasons.
- Once most drafts are accepted with light edits, consider Auto-publish with CMS draft, not Auto-publish with live publishing.
After publication, Promptwatch tracks each document's draft, staged, published and live URL, then follows the live page through AI crawls, citations and AI traffic. That is how you tell whether a piece is worth the budget. Pages that never get cited are a signal to adjust what the planner targets. If you want the full list of what ties together, the Content Agents overview is the place to start.
Common mistakes
Leaving the wizard defaults in place is the big one. Auto-publish plus Publish live means drafts go straight to your live site with only an empty-draft check between them and your readers.
The second is forgetting that project limits are fixed. An agency that adds a client mid-month may find the organization allowance already spoken for by other projects.
Third, ignoring the Delayed tab. Those pieces are refunded and re-planned automatically, but a growing Delayed count can mean your budget is full and higher-priority ideas are pushing others out.
Alternatives if you want a different level of control
If you prefer to keep drafting in-house and only need a calendar with approvals, general editorial tools such as CoSchedule, Planable or Notion cover that job, though none of them tie content to AI citations. If you want a content generation tool without the visibility data, options like AirOps exist, but you then lose the loop that shows whether pages get cited. For other GEO platforms, the directory at bestgeosoftware.com lists the field.

Bottom line
The Content Agent gives you real control, but the control is opt-in. Switch to Review first, push to your CMS as a draft, cap the budget share, and restrict publishing days to when someone is watching. Once the decline reasons dry up, loosen things one setting at a time. You can start with the 7-day free trial on monthly billing for Business, and confirm plan details on the pricing page.